


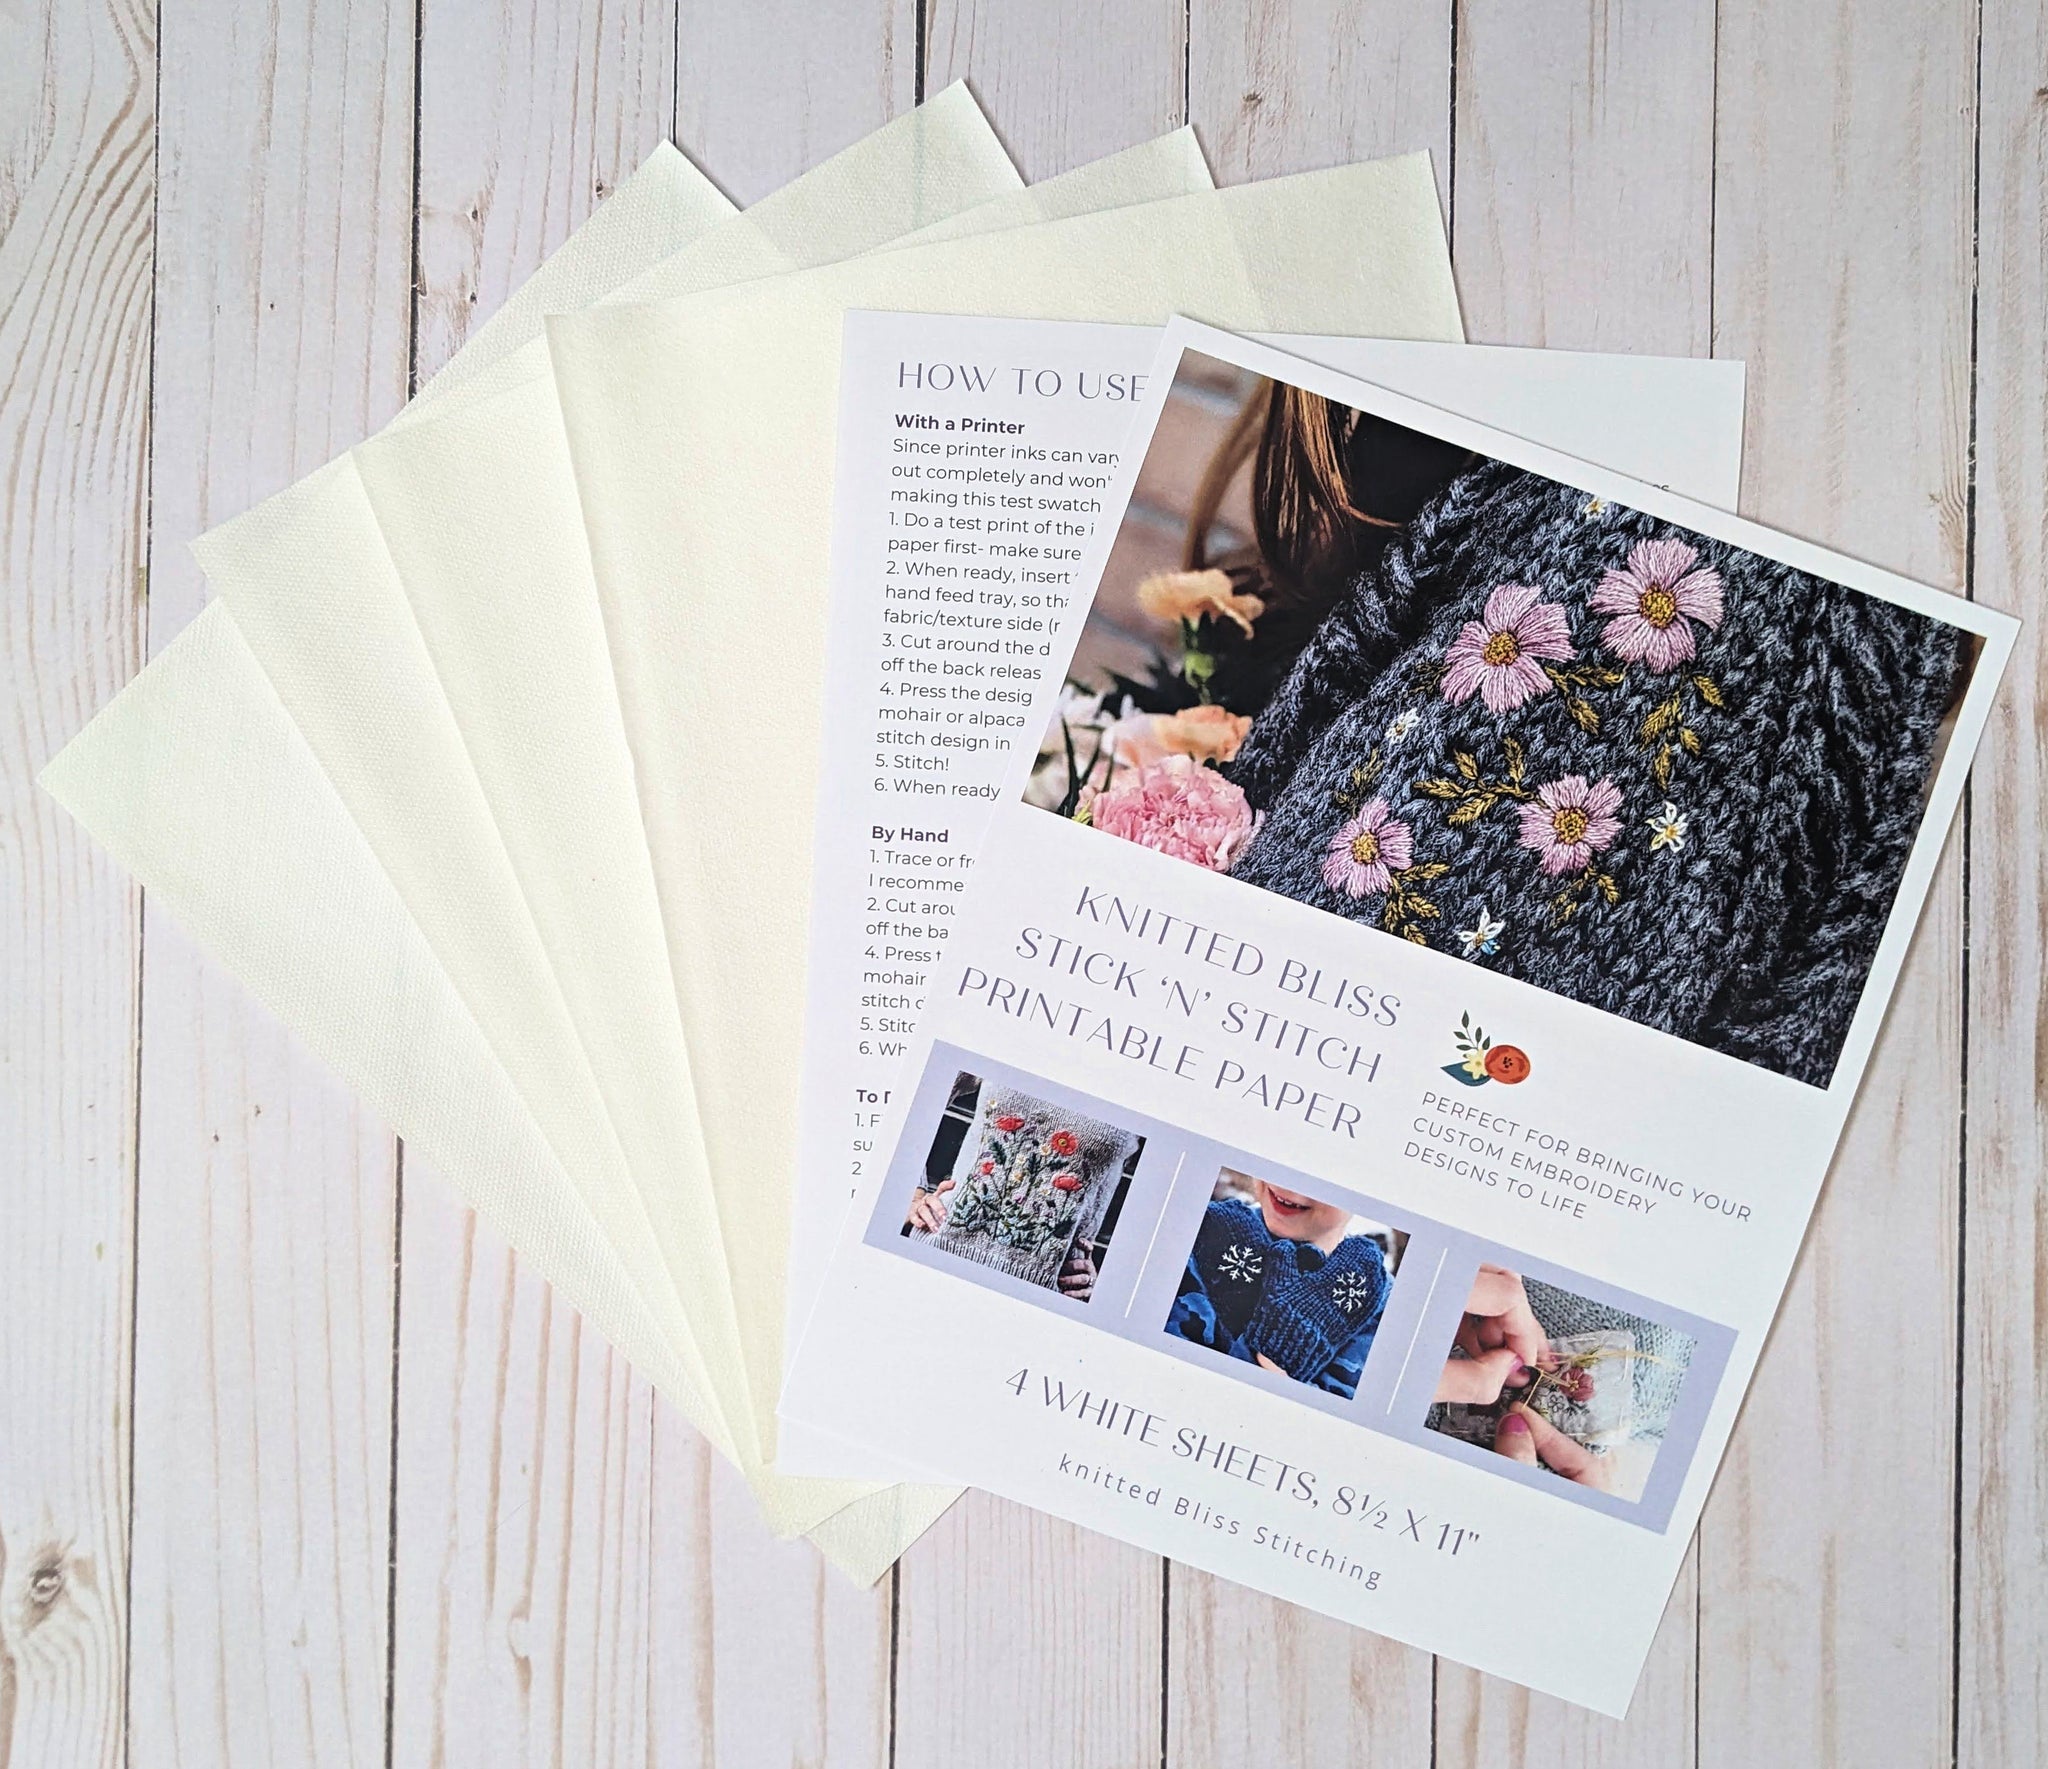
Perfect for bringing downloadable or your own custom embroidery designs to life!
Package includes 4 blank sheets of 8.5" x 11" of adhesive-backed washaway stabilizer.
HOW TO USE:
With a Printer
1. Do a test print of the image you want to print onto the stabilizer sheet on normal
paper first- make sure your image is the way you want it!
2. When ready, insert the washaway stabilizer sheet into your printer's paper tray (the
hand feed tray, so that there's less chance of jamming) so that it will print on the
fabric/texture side (not the smooth release paper side).
3. Cut around the design, leaving about a centimeter of white space around, and peel
off the back release paper.
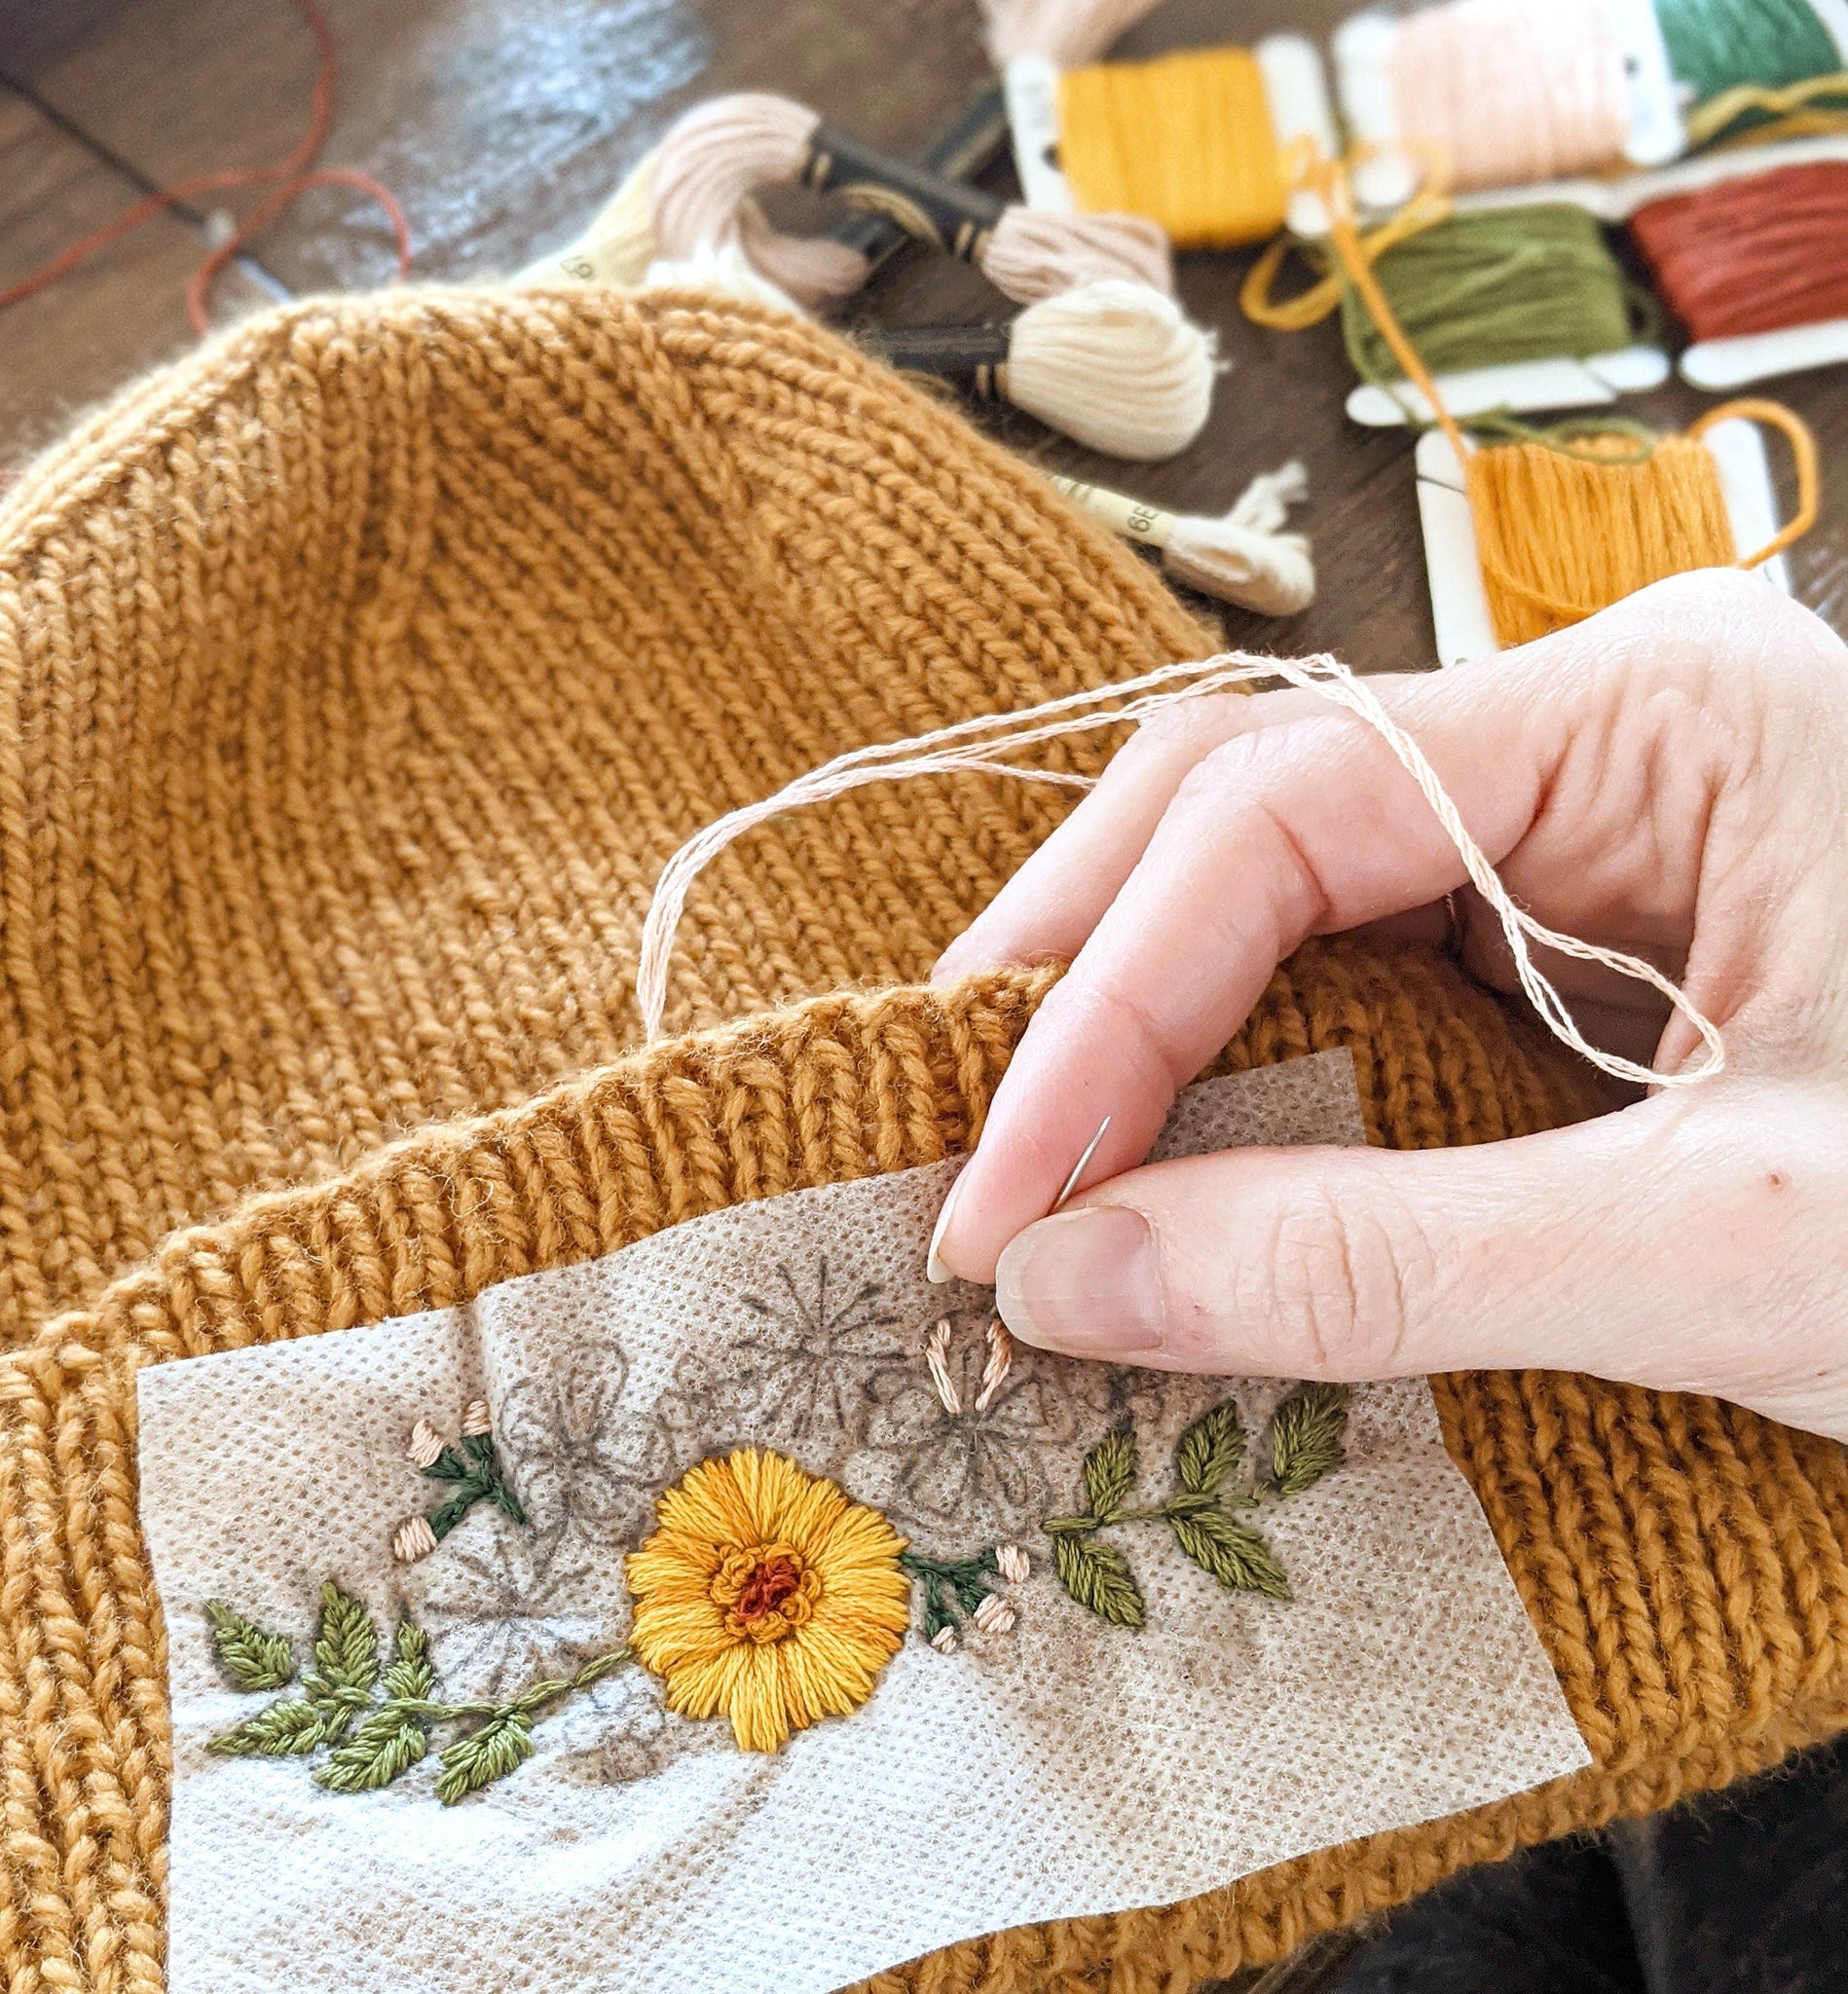
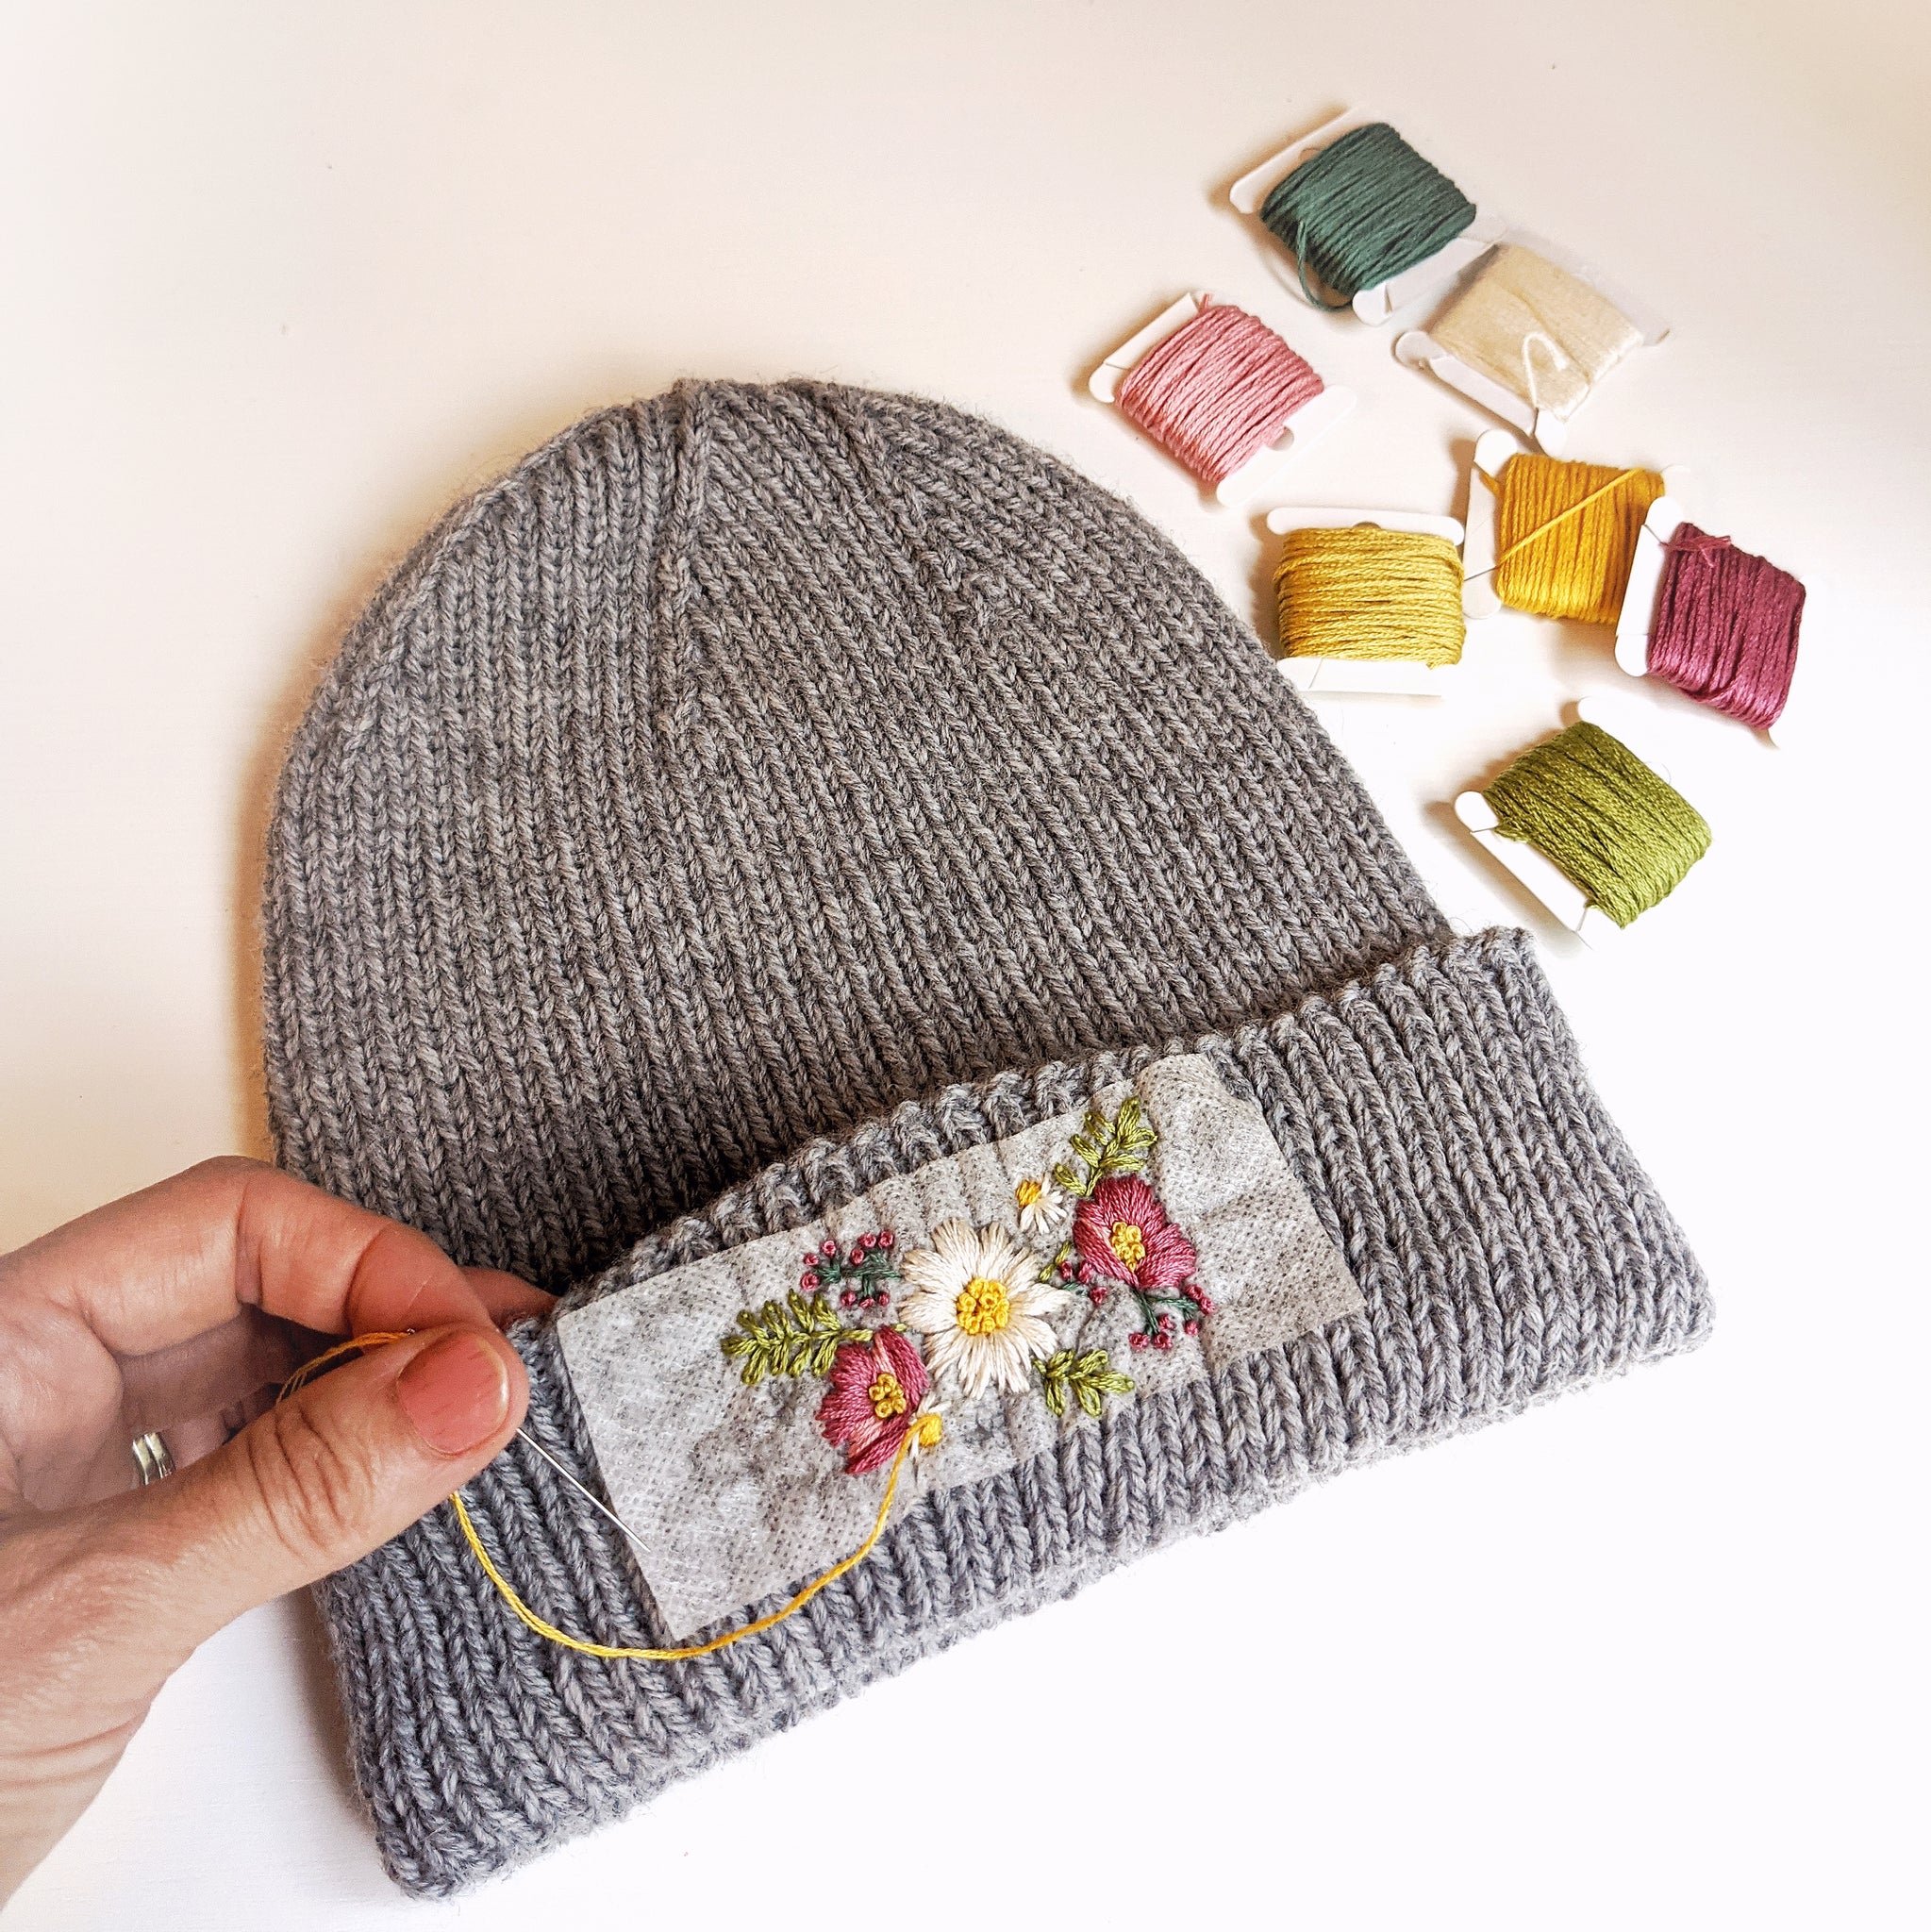
4. Press the design onto your fabric of choice. If it is a knit that has long fibers (like
mohair or alpaca), put a few running stitches along the edges to keep the stick and
stitch design in place.
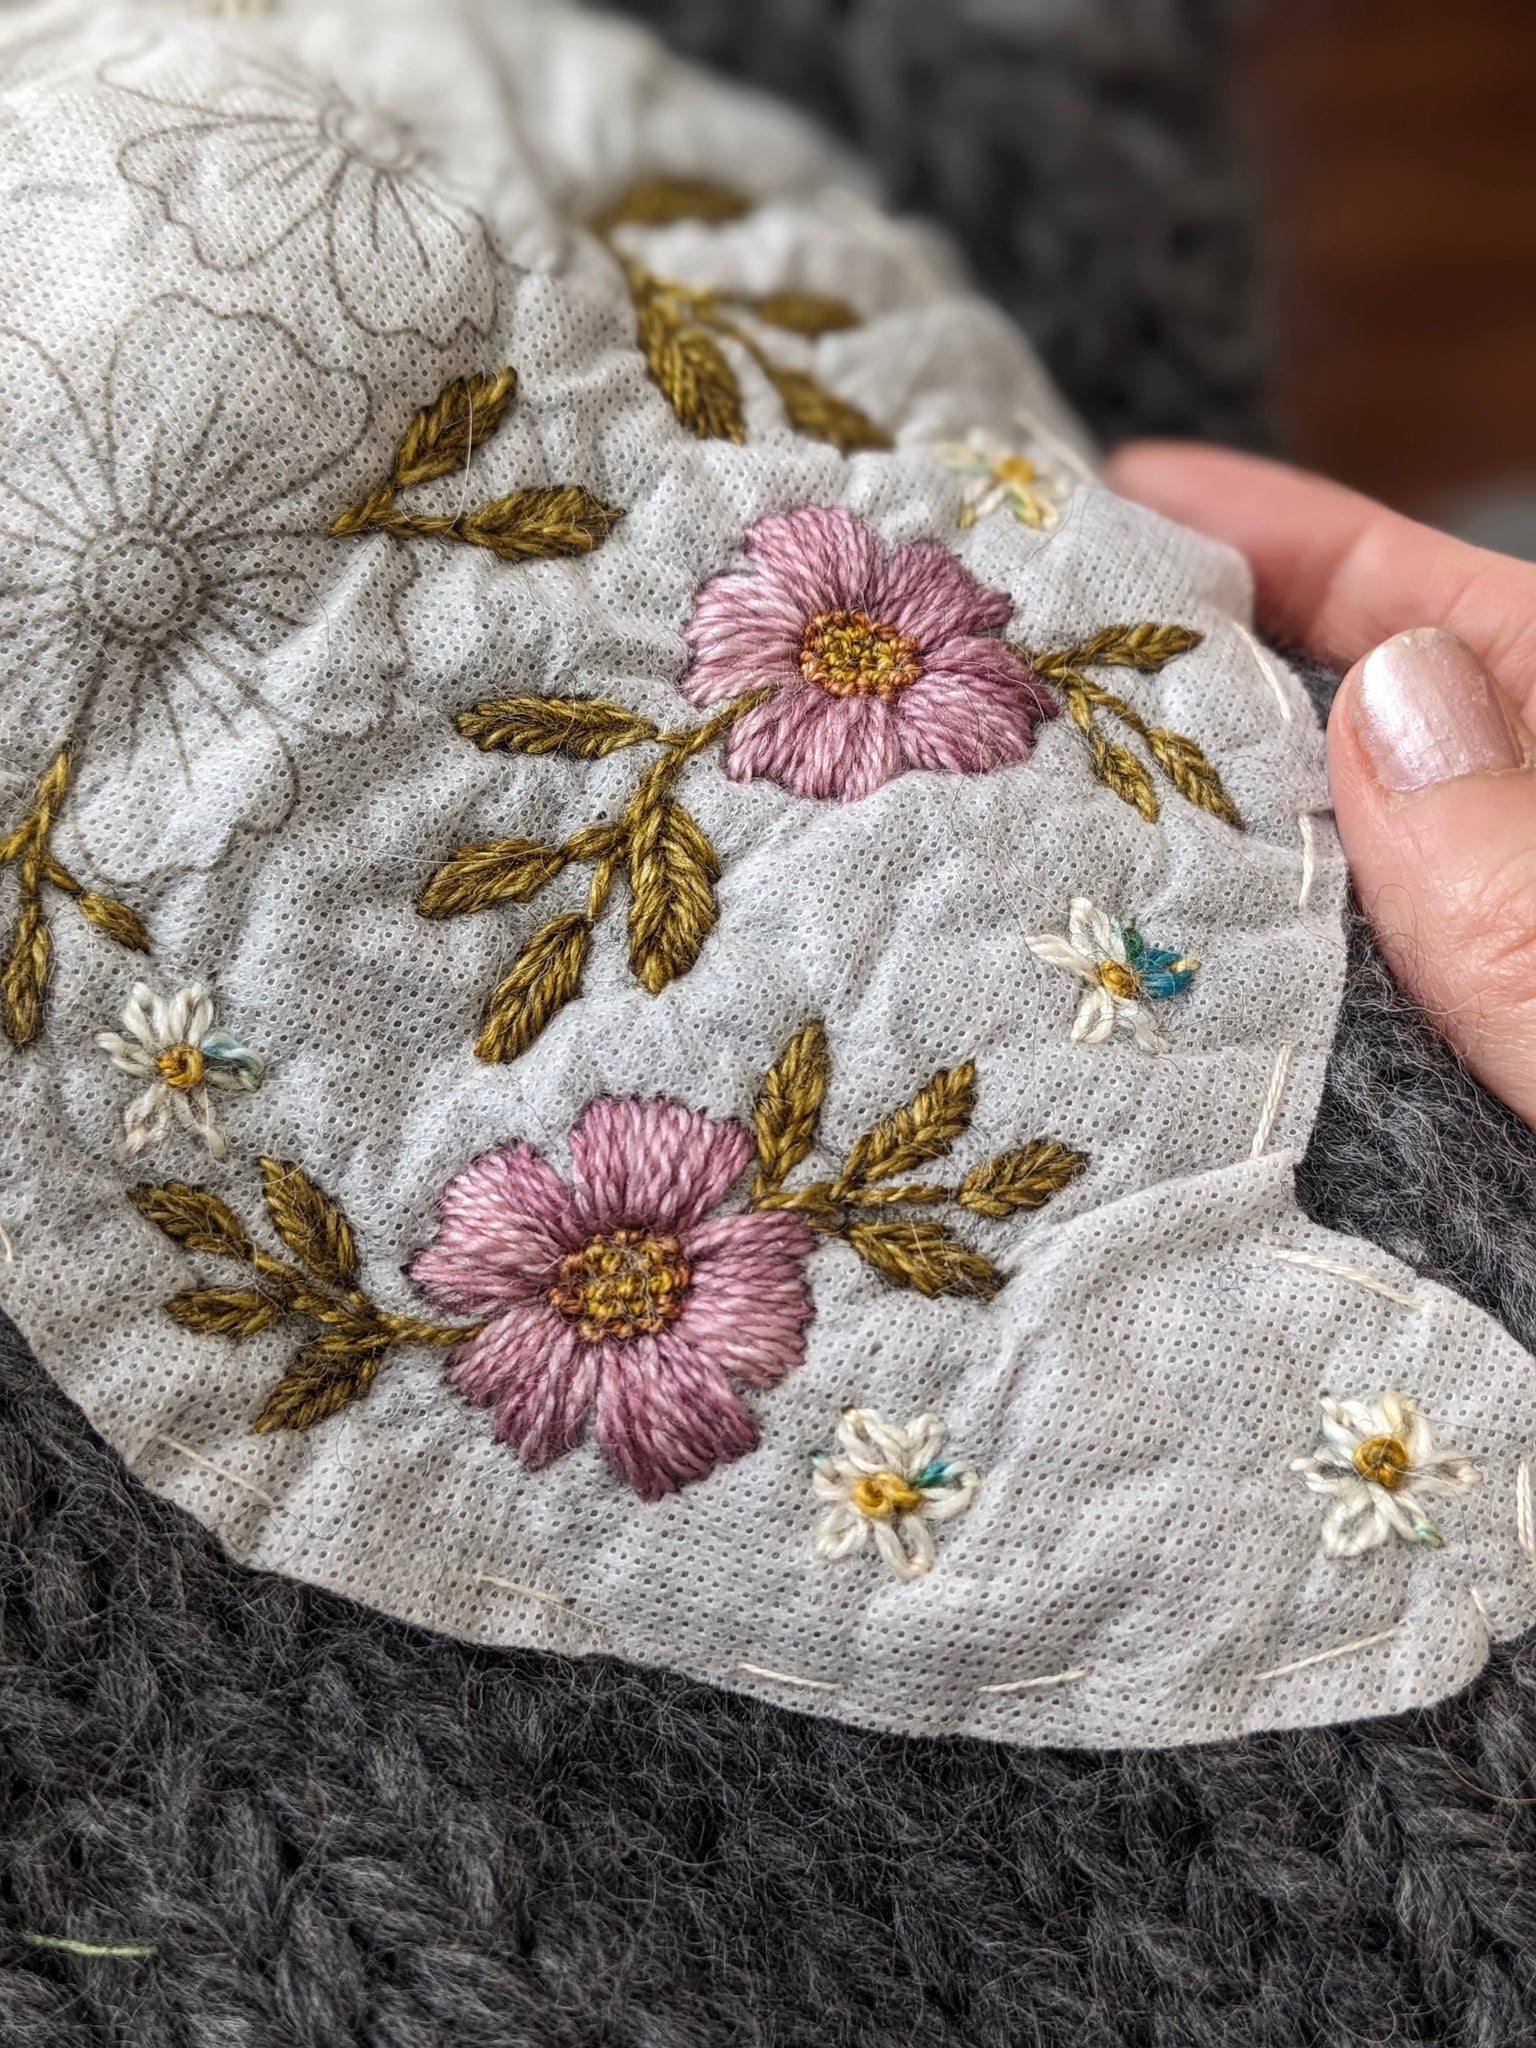
5. Stitch!
6. When ready, rinse away the stick and stitch. Continue to ‘dissolve stabilizer’ section.
By Hand
1. Trace or free sketch the design you would like to use directly onto the textured side.
I recommend a normal pencil for this, or washaway pen.
2. Cut around the design, leaving about a centimeter of white space all around, and peel
off the back release paper.
4. Press the design onto your fabric of choice. If it is a knit that has long fibers (like
mohair or alpaca), put a few running stitches along the edges to keep the stick and
stitch design in place.
5. Stitch!
6. When ready, rinse away the stick and stitch. Continue to ‘dissolve stabilizer’ section.
To Dissolve Stabilizer
1. Fill a large bowl or sink basin (depending on the size of your design) and completely
submerge the stitched piece for a few minutes. The dissolving stabilizer will get sort of glue-like, this is normal and part of the dissolving process.
2. Rinse the remainder away under the tap with cool water. This may take a few
minutes.
3. When the dissolving stabilizer is rinsed away, check your stitches and nudge any
errant threads back into place with a needle.
4. Lay flat to dry (on towels, if it is still quite damp / large item).
US Customers: Please note that the product of orgiin for the blank sheets only is USA.